
How to Install WPC Wall Panels?
Installing Wpc Wall Panels can transform a plain room, but a clean finish begins before the first panel reaches the wall. The surface should be sound, dry, and reasonably flat. A small bump can become a visible ridge across several panels. Measure the full wall, including corners, outlets, and door frames. Then plan where the joints will fall.
This guide explains how to prepare, measure, cut, and fix panels with care. It also covers expansion gaps, adhesive or mechanical fixings, and common mistakes. Always check the product instructions before choosing a method. Panel thickness, room conditions, and wall type can change what works. Leave the recommended clearance at edges, and use a fine-tooth blade for neater cuts. Wear suitable eye protection. Small details matter.
Daniel Mercer, a fictional WPC installation specialist used here as an illustrative voice, puts it this way: “Measure twice, leave room to move, and never hide a damp wall.” That is a practical reminder, not a sourced quotation. A Wpc Panel Wall should look consistent, but the hidden preparation deserves equal attention. Dry-fit the first panels and inspect the pattern in ordinary room light. Step back. Check the joints. If a panel sits unevenly, stop and correct the cause rather than forcing the next piece into place. Careful work takes patience, and even experienced installers may need to adjust their plan when a wall is not truly square.
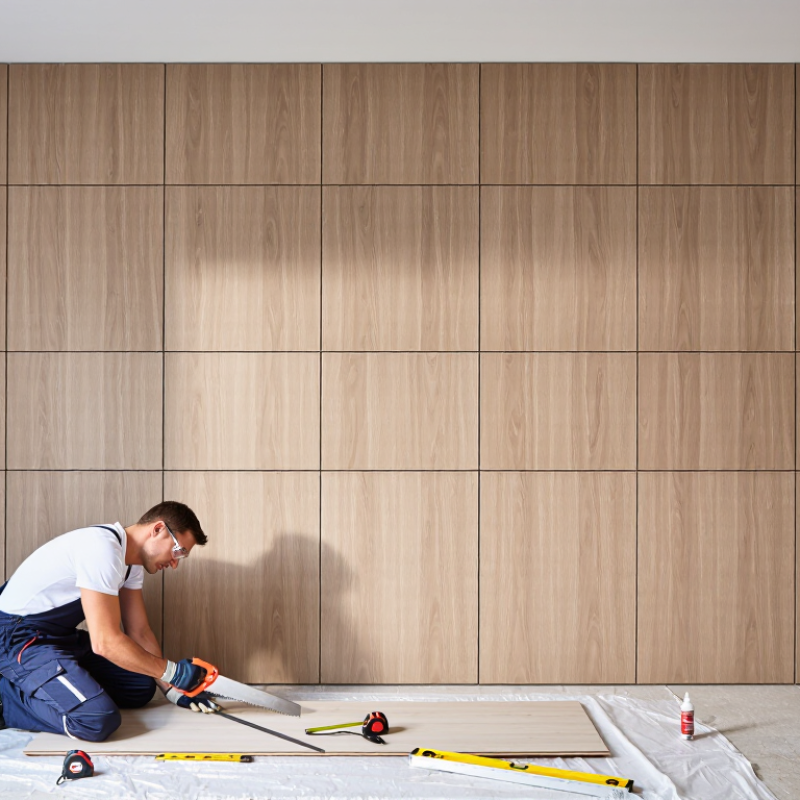
Prepare the Wall Surface and Gather the Required Tools
A sound installation starts with a wall that is clean, dry, and reasonably flat. Remove loose paint, dust, grease, and old adhesive; a damp cloth helps, but let the surface dry fully. Check for bumps with a straightedge and mark uneven areas in pencil. Fill small holes and sand rough patches. If the wall feels damp or shows staining, find the cause before covering it. Panels can hide a problem, not fix one.
Gather a tape measure, pencil, level, straightedge, drill, suitable saw, and the fasteners or adhesive specified for your panel system and wall type. Keep safety glasses and a dust mask nearby when cutting. A stable work surface helps, too. Measure the wall in several places; corners and ceilings are rarely perfectly square. I once trusted a single measurement and had to recut a panel. Not ideal. Leave any required expansion gaps, and check the installation instructions before deciding how to secure the panels.
Lay the tools within reach and protect the floor with a drop cloth. Mark the starting line with a level, rather than assuming the floor is straight. Check the wall once more before cutting. Dust, a slight bow, or a misplaced pencil mark can affect the whole row. Small details matter.
How to Install WPC Wall Panels? - Prepare the Wall Surface and Gather the Required Tools
| Category | Item or Check | Preparation Guidance | Why It Matters |
|---|---|---|---|
| Wall inspection | Check the wall condition | Look for loose plaster, flaking paint, damp patches, mold, cracks, and protruding fixings. Resolve moisture problems before covering the wall. | Panels should not conceal active leaks, dampness, or unstable surfaces. |
| Surface preparation | Clean and dry the surface | Remove dust, grease, and loose material. Allow the wall to dry fully after cleaning. | A clean, dry surface helps adhesives or battens perform as intended. |
| Surface preparation | Make the wall reasonably even | Scrape off high spots and repair holes or damaged areas. Use a suitable straightedge to identify significant unevenness. | A flatter backing reduces gaps and helps panels align evenly. |
| Planning | Measure and mark the layout | Measure the wall height and width, note openings and corners, and mark a level reference line for the first panel. | Accurate layout helps avoid narrow end pieces and crooked panel runs. |
| Acclimation | Condition the panels | Store panels flat in the installation room and follow the product instructions for acclimation time and temperature. | Allowing materials to adjust to room conditions can help limit movement after fitting. |
| Measuring tools | Tape measure, pencil, and level | Use these to measure panel positions, mark cut lines, and check that the starter line and installed panels are level or plumb as required. | Consistent measurements improve alignment and reduce cutting errors. |
| Cutting tools | Fine-tooth saw or suitable power saw | Choose a blade suitable for the panel material and make cuts on a stable, supported work surface. Follow the panel maker’s cutting guidance. | A suitable blade and steady support help produce cleaner, more controlled cuts. |
| Fitting tools | Drill/driver and compatible fixings | Use fixings appropriate for the wall construction and the installation method. Check for hidden pipes or cables before drilling. | The correct fixing method supports secure installation and helps avoid damage to concealed services. |
| Safety equipment | Safety glasses, dust mask, and hearing protection | Wear suitable protective equipment when cutting, drilling, or sanding, and keep the work area ventilated. | Cutting and drilling can create dust, debris, and noise. |
| Before installation | Confirm the installation method | Check the panel instructions for approved adhesives, battens, clearances, expansion gaps, and fixing locations before starting. | Requirements vary by panel design and wall type; product instructions take priority. |